Week 2 Todo App
From last week’s blog, we introduced the front end design of the app. This week we will be going through the back end of the app.
Part 1: Back End
As mentioned from last week’s blog, front end is basically the user side. What the user sees and interact. The back end is the opposite, it is the the database side. It stores all the user’s data, the user won’t see it which is why it’s called back end.
Part 2: Installations
Tools
- MongoDB (This is a free database I am using)
- Mongoose (MongoDB framework)
- Express (Node framework)
- Node (Node links the database with your app)
- Nodemon (Node framework that auto updates the terminal once you saved your code)
npm i mongoose nodemon express axios --save
Part 3: Setting Up
Create a new folder in the same todo app project as last week’s.
mkdir backend
cd backend
Then call git init and install all the dependencies.
git init
npm i mongoose nodemon express axios --save
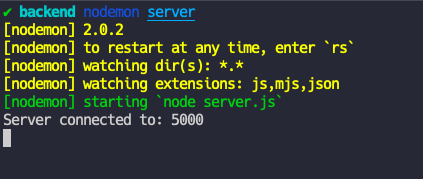
Create a new file called server.js. Create a port that will host your server. You can type in any number but I usually use port 5000.
const port = process.env.PORT || 5000;
app.listen(port, () => {
  console.log("Server connected to: " + port);
});
To test run, simply type nodemon server to your terminal
Replace the <mongodb_url> with your url, you can find it in the connect section once you created your cluster. This will connect your MongoDB to the app. Quick tip: Use the free cluster when you are starting a new project in MongoDB
const url = <mongodb_url>
mongoose.connect(url, {
useNewUrlParser: true,
useCreateIndex: true,
useUnifiedTopology: true
});
const connection = mongoose.connection;
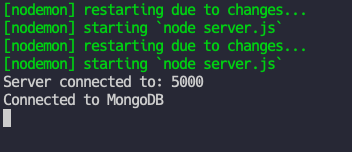
connection.once("open", () => {
console.log("Connected to MongoDB");
});
Model
After setting up the server, we will create a Model. It will create objects to be declared, so basically columns that is used to locate and store the data.
const TodoSchema = new Schema(
  {
    title: { type: String, required: true },
    description: { type: String, required: true },
    status: { type: Boolean, required: true },
    date: { type: Date, required: true },
  },
  {
    timestamps: true,
  }
);
Router
Get Request
This will get all the available data that is saved into the database.
router.route("/").get((req, res) => {
  Todo.find()
    .then((todos) => res.json(todos))
    .catch((err) => res.status(400).json("Errors: " + err));
});
Post Request
This will send data to MongoDB once it is called. It will create a new todo row for the newTodo.
router.route("/").post((req, res) => {
  const title = req.body.title;
  const description = req.body.description;
  const status = Boolean(req.body.status);
  const date = Date.parse(req.body.date);

  const newTodo = new Todo({
    title,
    description,
    status,
    date,
  });

  newTodo
    .save()
    .then(() => res.json("Todo added!"))
    .catch((err) => res.status(400).json("Errors: " + err));
});
Testing
Testing is a very important step, as it determines whether your backend server and the MongoDB work. You need to install Postman in google web store. It is an extension. Then paste in your localhost (remember to add the url in your router behind the localhost).
Here is an example http://localhost:5000/todos/.
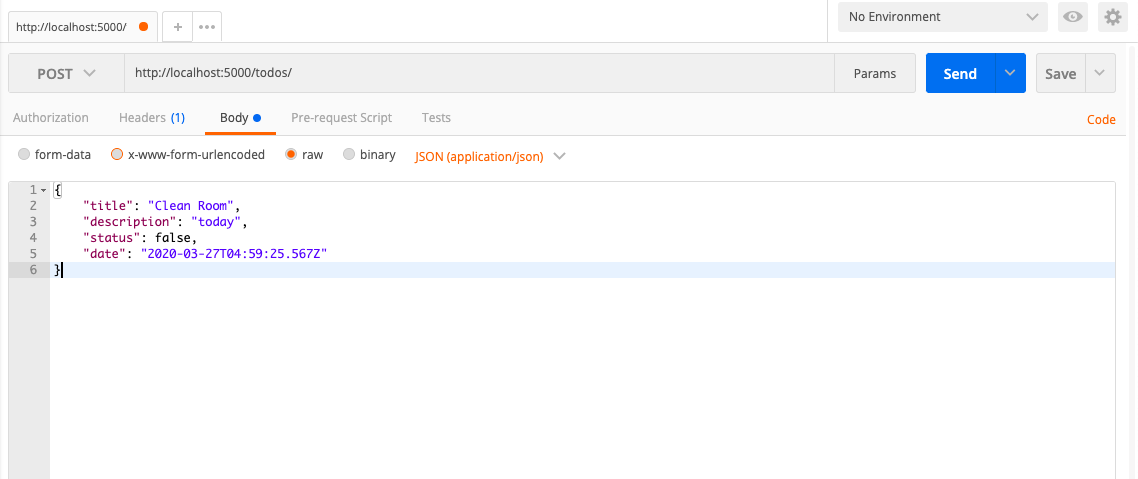
Then click the POST button on the left and enter value in body. When you press submit, it should say Todo Added.
If you change the button to GET on the left hand side menu. When you press submit, it should say list out the todo you added before hand. In my case it would be ‘Clean Room’.
Your Backend is Working.🎉🎉🎉
END
This blog gave you a simple tutorial on adding your backend to the existing Todo App. Next week we will look at how to connect frontend to backend.
I have put the full source code for this week’s tutorial on Github. Good Luck!
Thanks for reading 👀. There will be a weekly blog every Friday, Stay Tuned.😉